

Draw Manga
Illustrated step by step guides to create Animated Characters.
These simple step by step tutorials helps you realize manga characters, expressions and animated personalities. Each illustrated guide is explained, using important design principles, drawing techniques and useful design tips.
click or scroll
Follow these step by step guides to create and bring to live your favorite manga!
Characters
Unicorns
Cats
Mermaids
Our Design tutorials are also useful for producing original artworks with digital illustration software and image editing software. We are always updating our tutorials, feel free to request and suggest design guides.
Learn how to design your own characters.
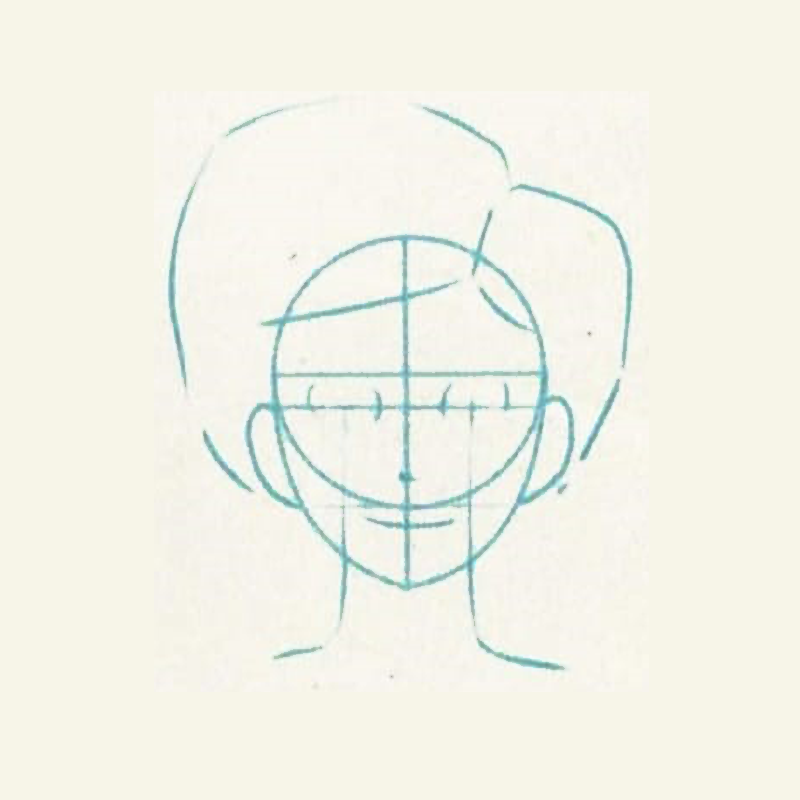
Female Face
An important rule in this case to remember is that the length of the vertical line affects how tapered your characters face will be. Longer vertical lines give a more streamlined the result.
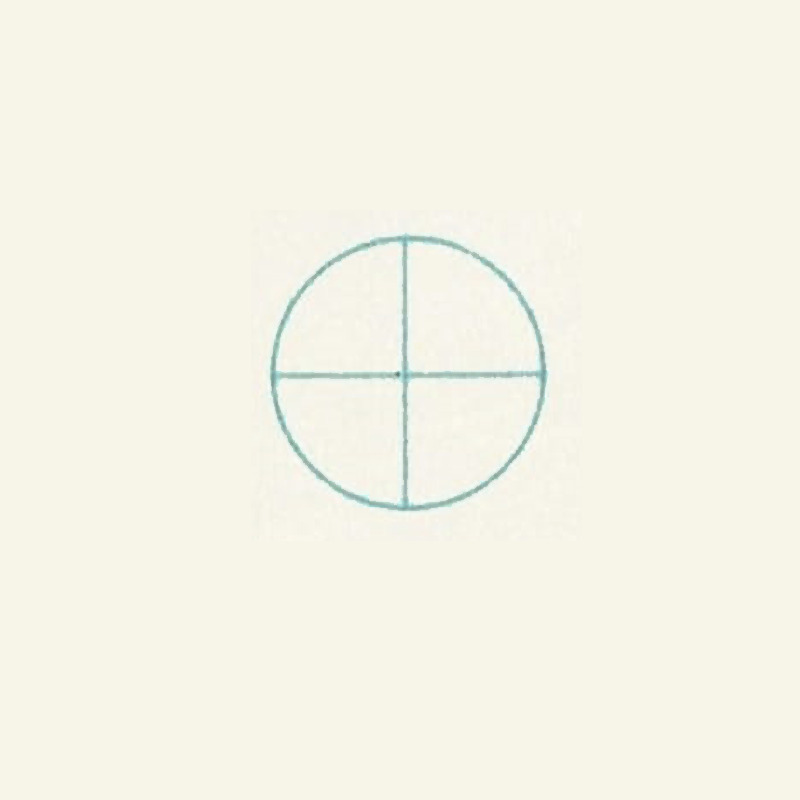
- Draw a circle and divide into four equal parts.
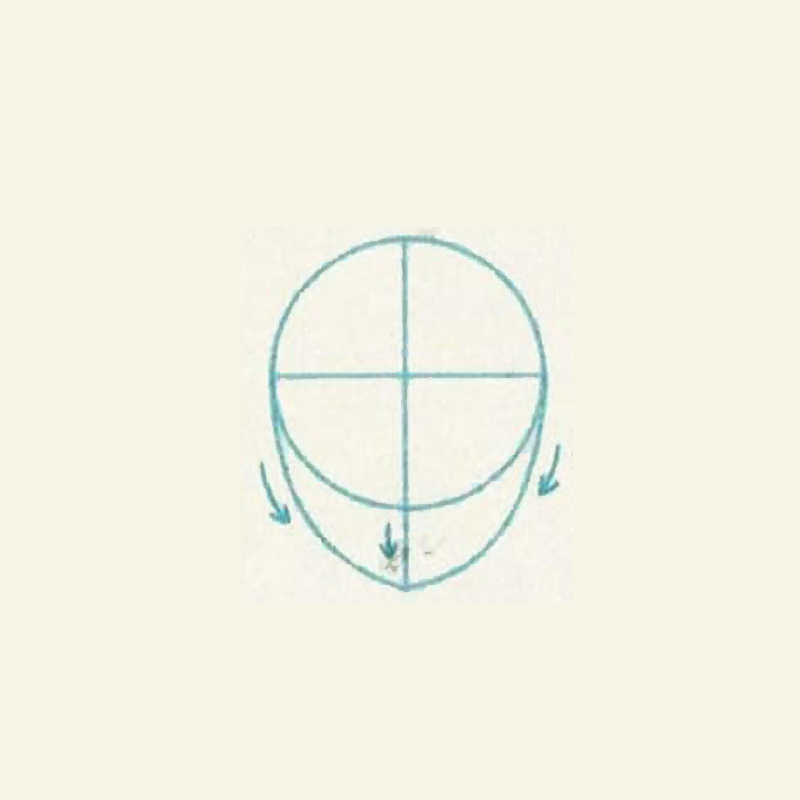
- Stretch the vertical line in the center to the correct base of the chin. Join the two curved lines at the end of the vertical line to the two ends of the horizontal line.
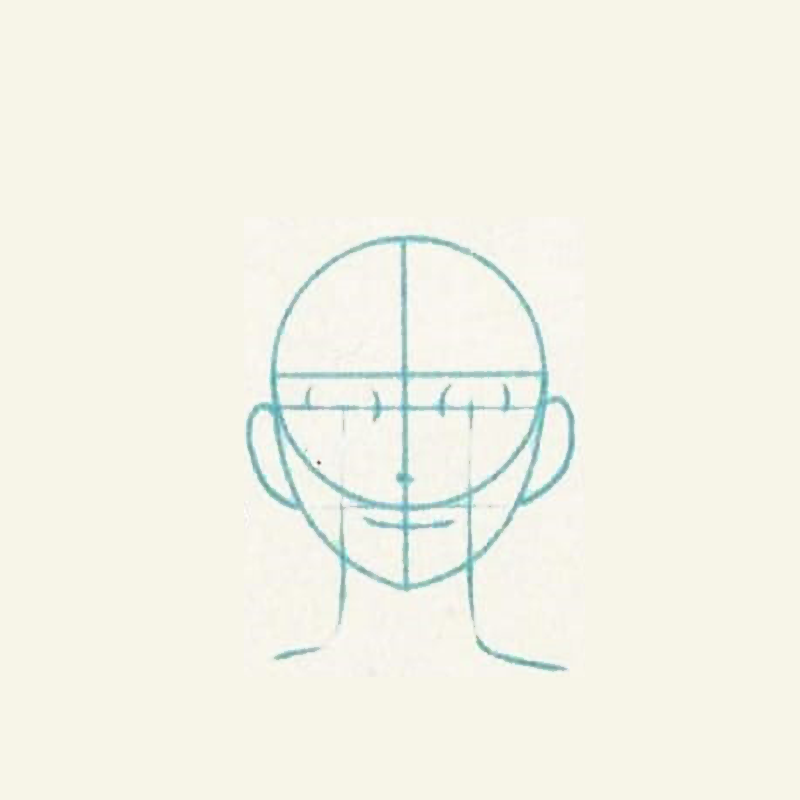
- Mark the position of the eyes, nose and lips. Add the ears and the neck bulge in relation to eyes.
Draw a circle and divide into four equal parts.
- Decide the hairstyle. Take into consideration the type of tuft/wisp, of the character, the parting of the hair and its volume.
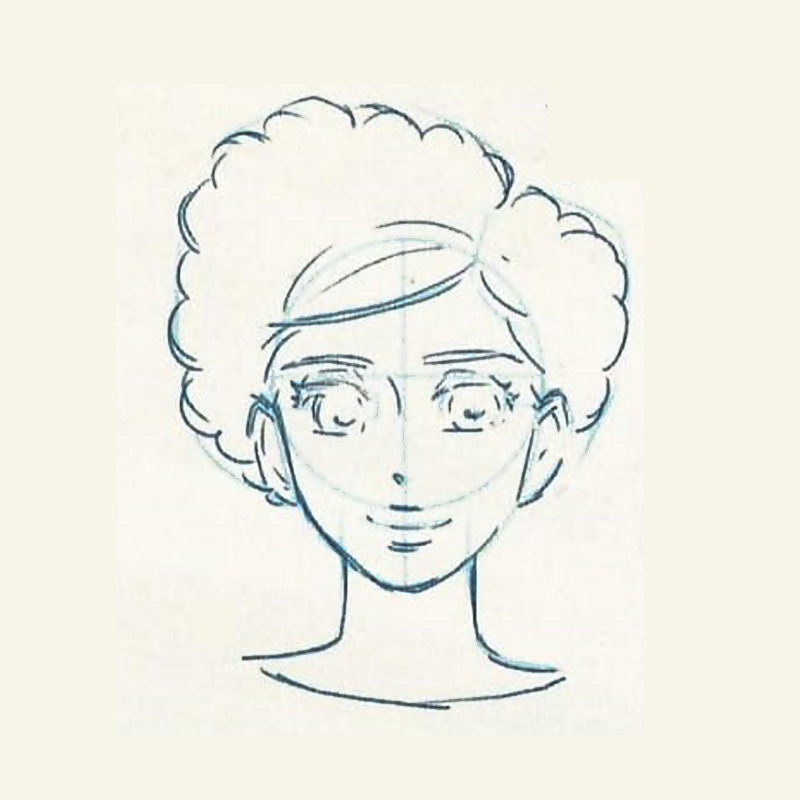
- Add further details. Adjust the position and the shape of every facial feature, taking into account the overall effect. For curly hair, like in this example, use wavy lines.

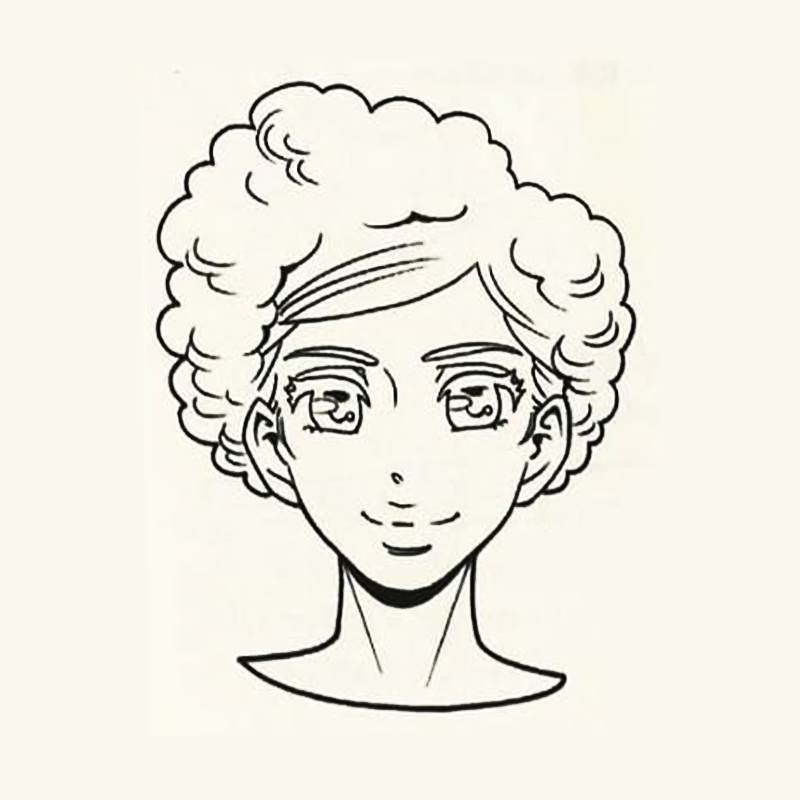
- Trace Go over the design/ drawing with a pen. Define the facial lines first and use them as a structure of reference for the proportions of all facial features. Erase the guide lines.
Draw a circle and divide into four equal parts.
- Give depth by thickening some lines where the shadows fall, like the areas under the chin and the hair.

- Decide the color scheme (see palette below) and start coloring with lighter shades.

- Add even more depth to on the shaded areas considering where the light comes from. Check the aspect ratio and contrast of the light and dark areas. Give depth in some areas as a whole, such as the bridge of the nose, cheeks, under the eyes e.t.c.

- Add Highlights with white ( Useful tip for paper mediums: use a white matte marker )

Remember to always consider where the light is coming from, when you add the highlights on the eyes, hair and other elements.
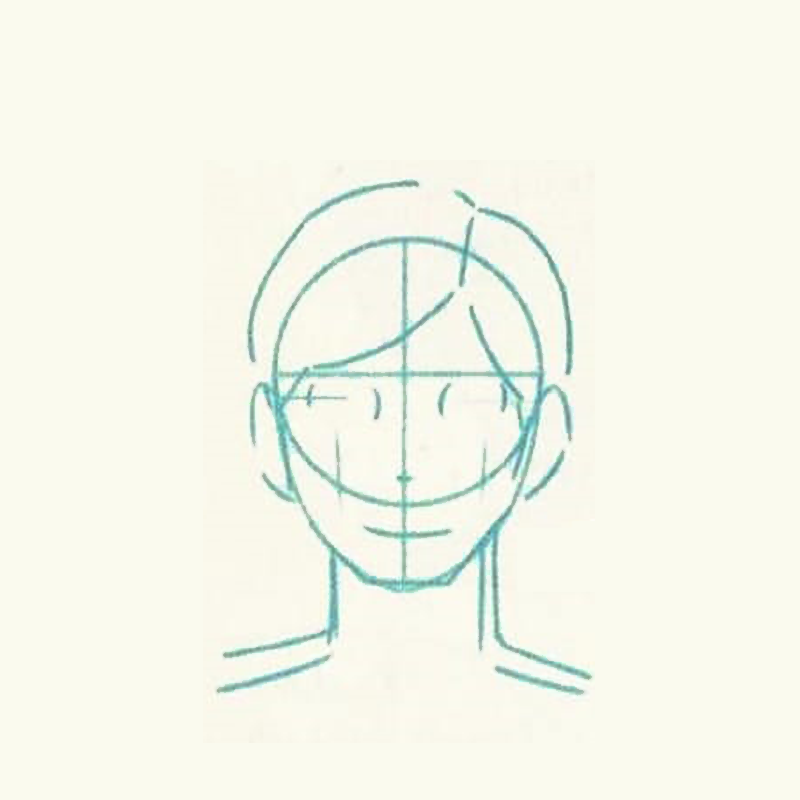
Male Face
In general, a male face requires sharper lines and squarer shapes for greater definition. Paying attention to this can help you control the “masculinity” of your character.
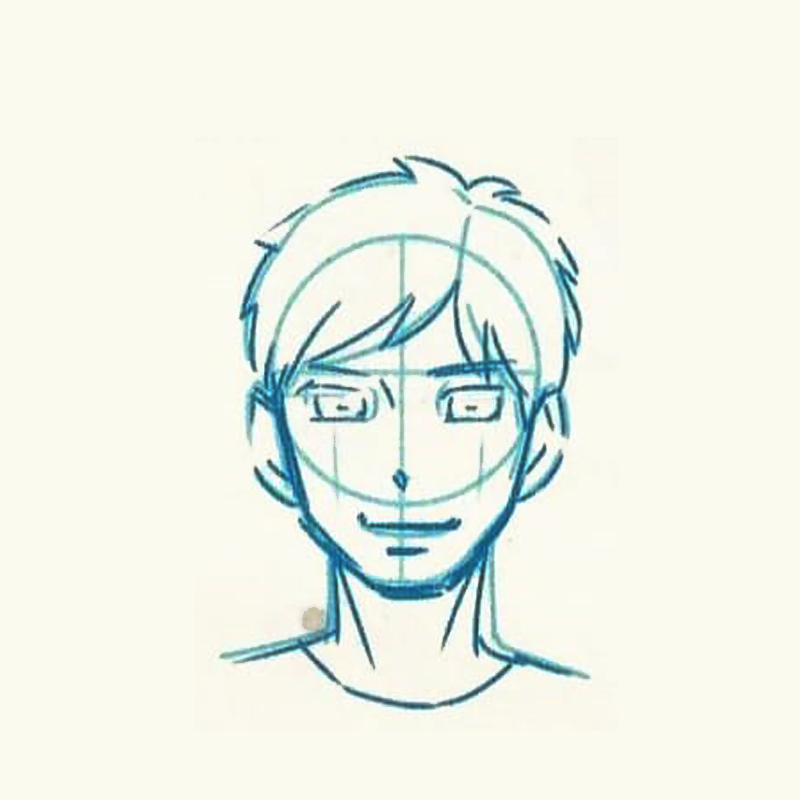
- Draw a circle and divide into four equal parts.
- Stretch the vertical line in the center to the correct base of the chin. Join the two curved lines at the end of the vertical line to the two ends of the horizontal line.

- Mark the position of the eyes, nose and lips. Add the ears and the neck bulge in relation to eyes.
Draw a circle and divide into four equal parts.
Decide the hairstyle. Take into consideration the shape and the volume of the hair. Therefore adjust the face, neck and shoulder lines to enhance masculinity.
A broad, square chin also helps in this regard, as does a wide neck
Add more detail. Adjust the position and shape of the facial features, taking into account the proportions as a whole. Draw the eyes slightly squared.

Trace the drawing with the pen, using more straight strokes to enhance the masculinity, erase the guidelines
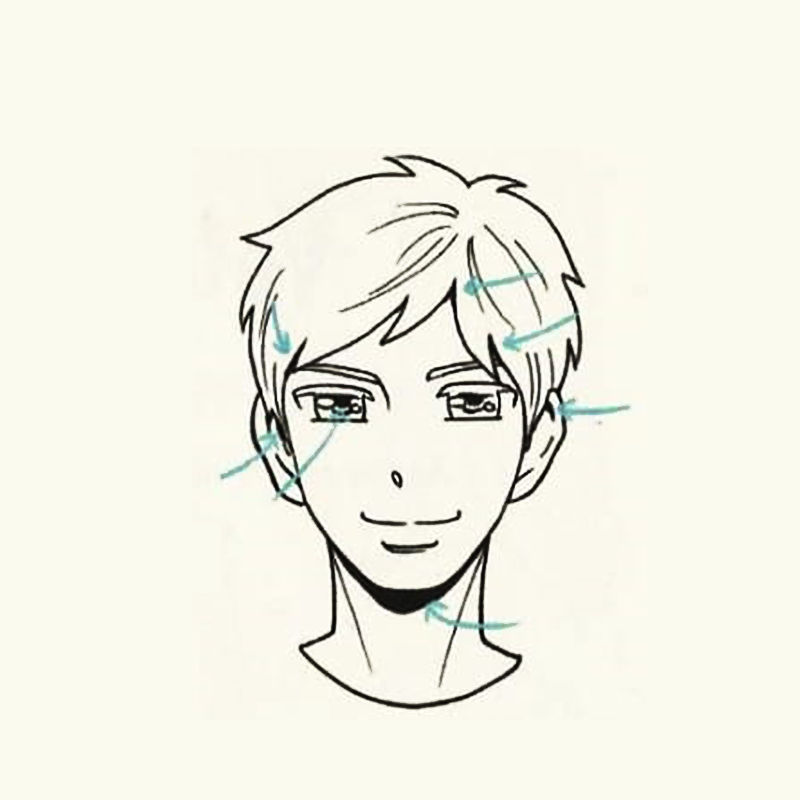
Draw a circle and divide into four equal parts.
Give depth by thickening the lines where the shadow falls, such as under the chin and on the hair (see arrows).
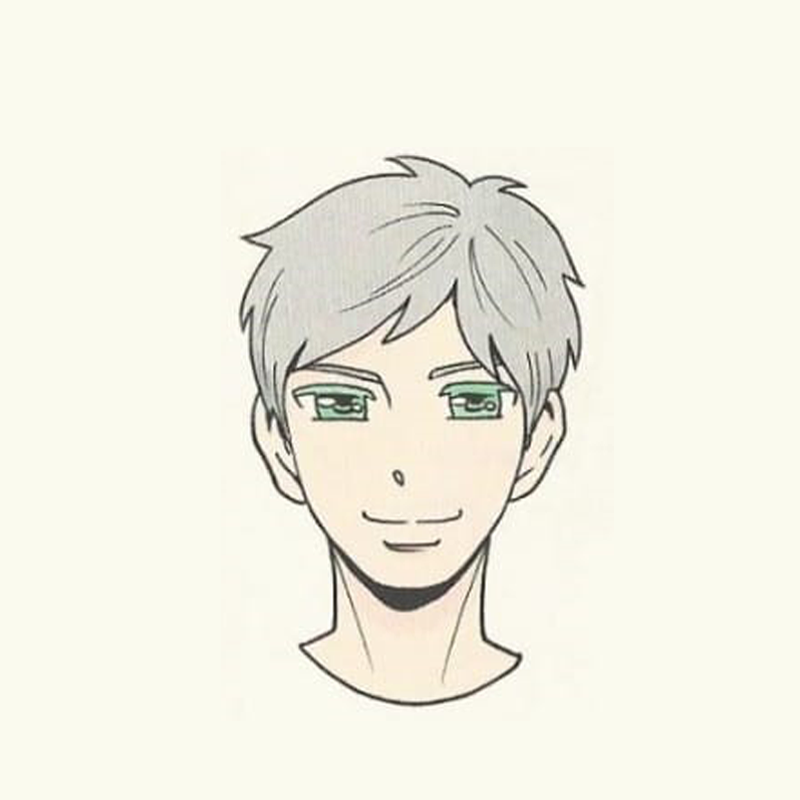
Decide the color scheme (see palette below) and start coloring with lighter shades.

Add even more depth to on the shaded areas considering where the light comes from. Check the aspect ratio and contrast of the light and dark areas. Give depth in some areas as a whole, such as the bridge of the nose, cheeks, under the eyes e.t.c.
Add even more depth to the shadows, considering where the light is coming from. Minimize the color on the cheeks and lips, and add definition to the bridge of the nose.
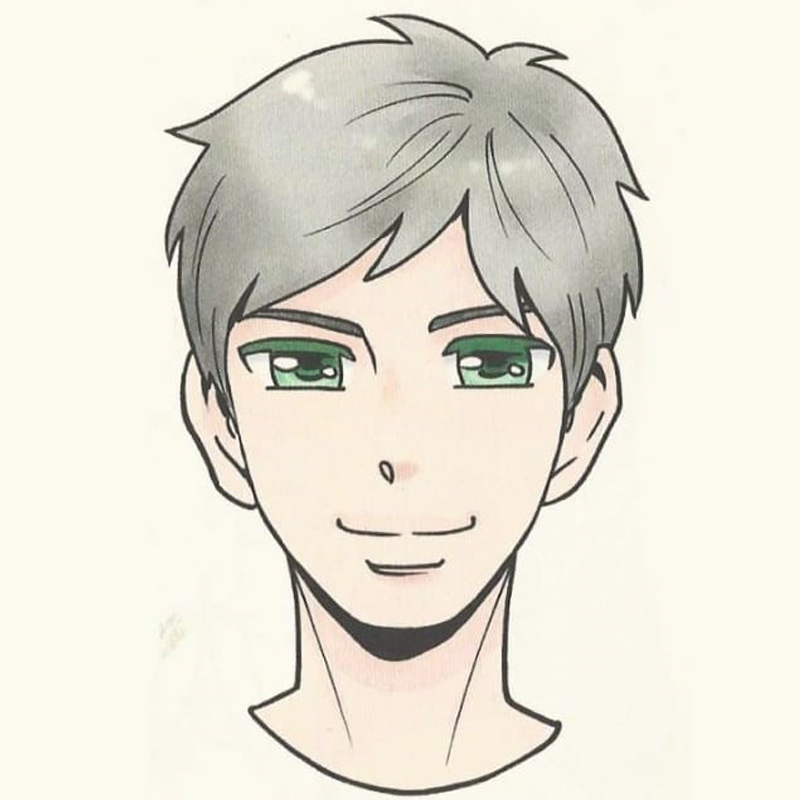
- Add Highlights with white ( Useful tip for paper mediums: use a white matte marker )

Remember to always consider where the light is coming from, when you add the highlights on the eyes, hair and other elements.
Happy
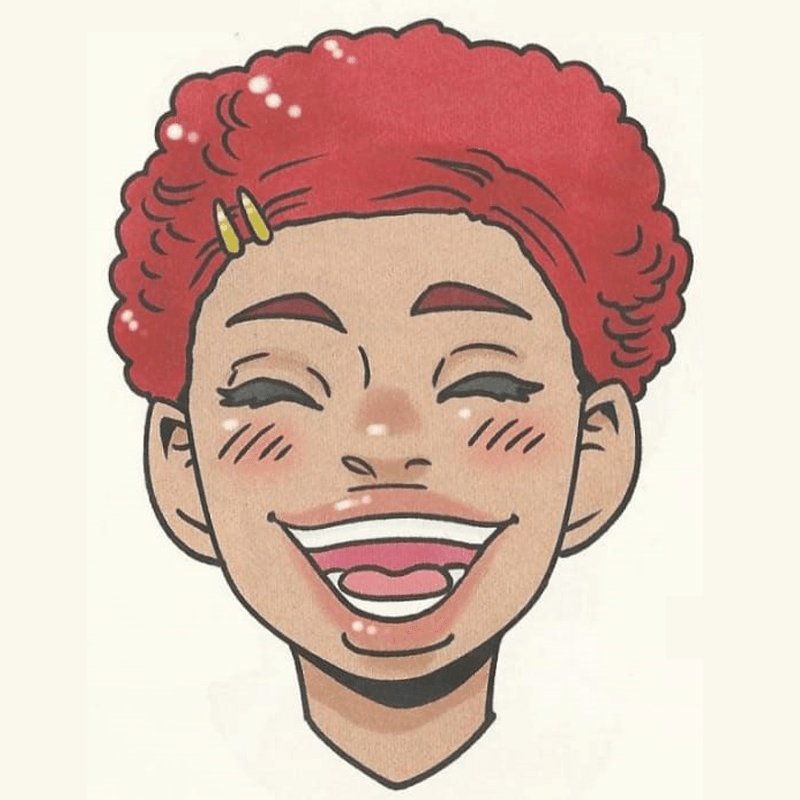
For a smiling face, in addition to the shape of the mouth, it is important that the cheeks are raised and the eyes closed or half closed, otherwise the smile appears false. Eyes closed for laughter are different from those closed for sleep or to express sadness (see face below). The eyebrows are raised but relaxed, and the cheeks appear red with excitement.
Sad

In sad expressions, many facial features are turned downwards. the eyebrows are tilted downwards, with a few vertical lines in the center. The sides of the mouth are also turned down and the eyes look down.
Surprised
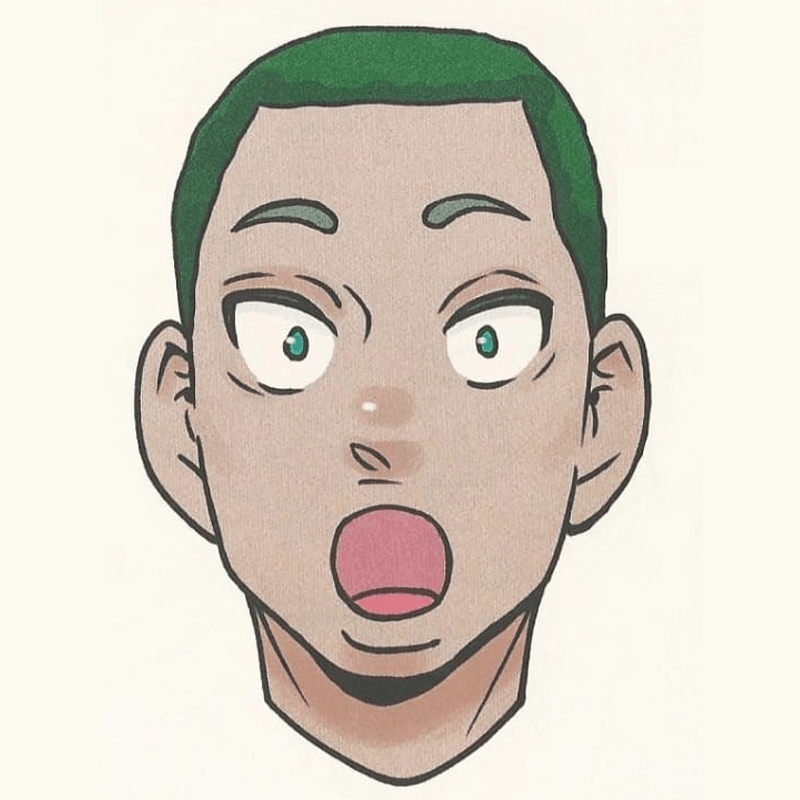
For a surprised expression, open your eyes and mouth wide. Even with his mouth closed and wide-eyed like these, the character will look flabbergasted. The shape of the eyebrows generally indicates awe. If you use angry eyebrows (See face below) for this face, the boy will look shocked or disgusted. If, on the other hand, you keep the shape of the eyes and eyebrows but draw the smiling mouth, the character will appear pleasantly surprised.
Angry
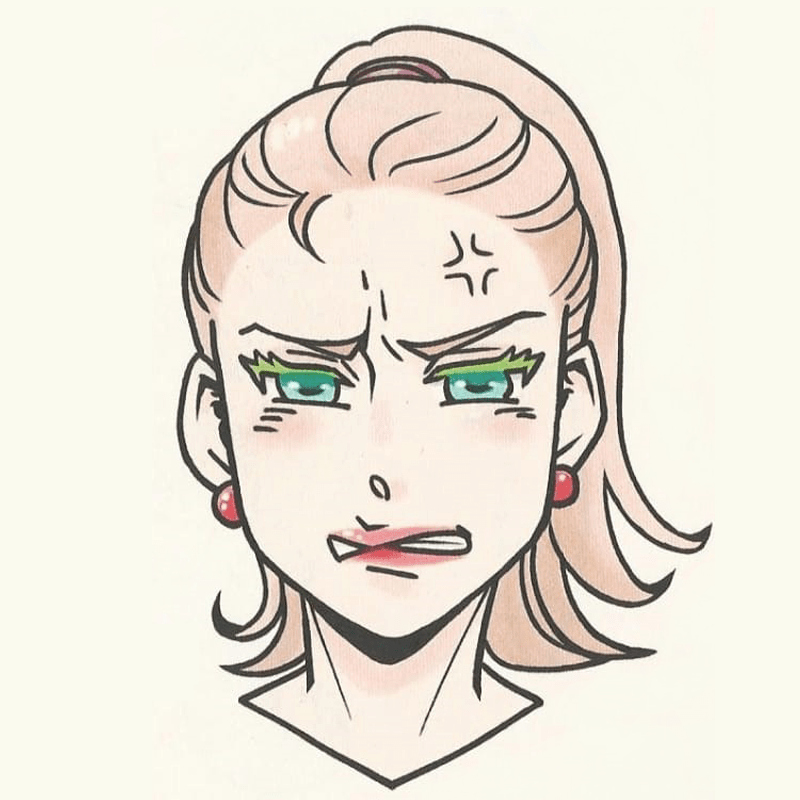
An angry face expresses concern. The brows are angled, with additional deep lines caused by the tension. For an angry mouth, you can use this kind of shape, with gritted teeth.
Open the character’s eyes wide or thin them, as in this example. Draw sharp eyes, with the outer edges at an angle, to enhance the tension.
The mark on the forehead is one of the classic symbols used in manga expressions. This expresses anger and represents the swelling veins. If you add this mark to the forehead of a smiling person, they will appear to be smiling to hide their anger. However, this symbol adds a slight comic note, so think carefully before adding it.
Download free art and design resources
Remember to always consider where the light is coming from, when you add the highlights on the eyes, hair and other elements.
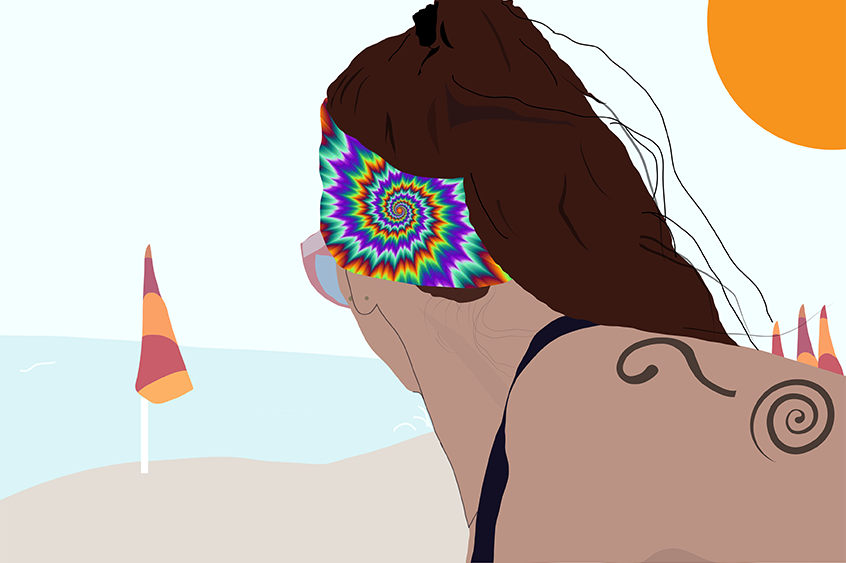
Use your favorite backgrounds to add effect to your illustrations and animated characters.
We have an amazing team of artists, designers and collaborators. View designs by our work team
